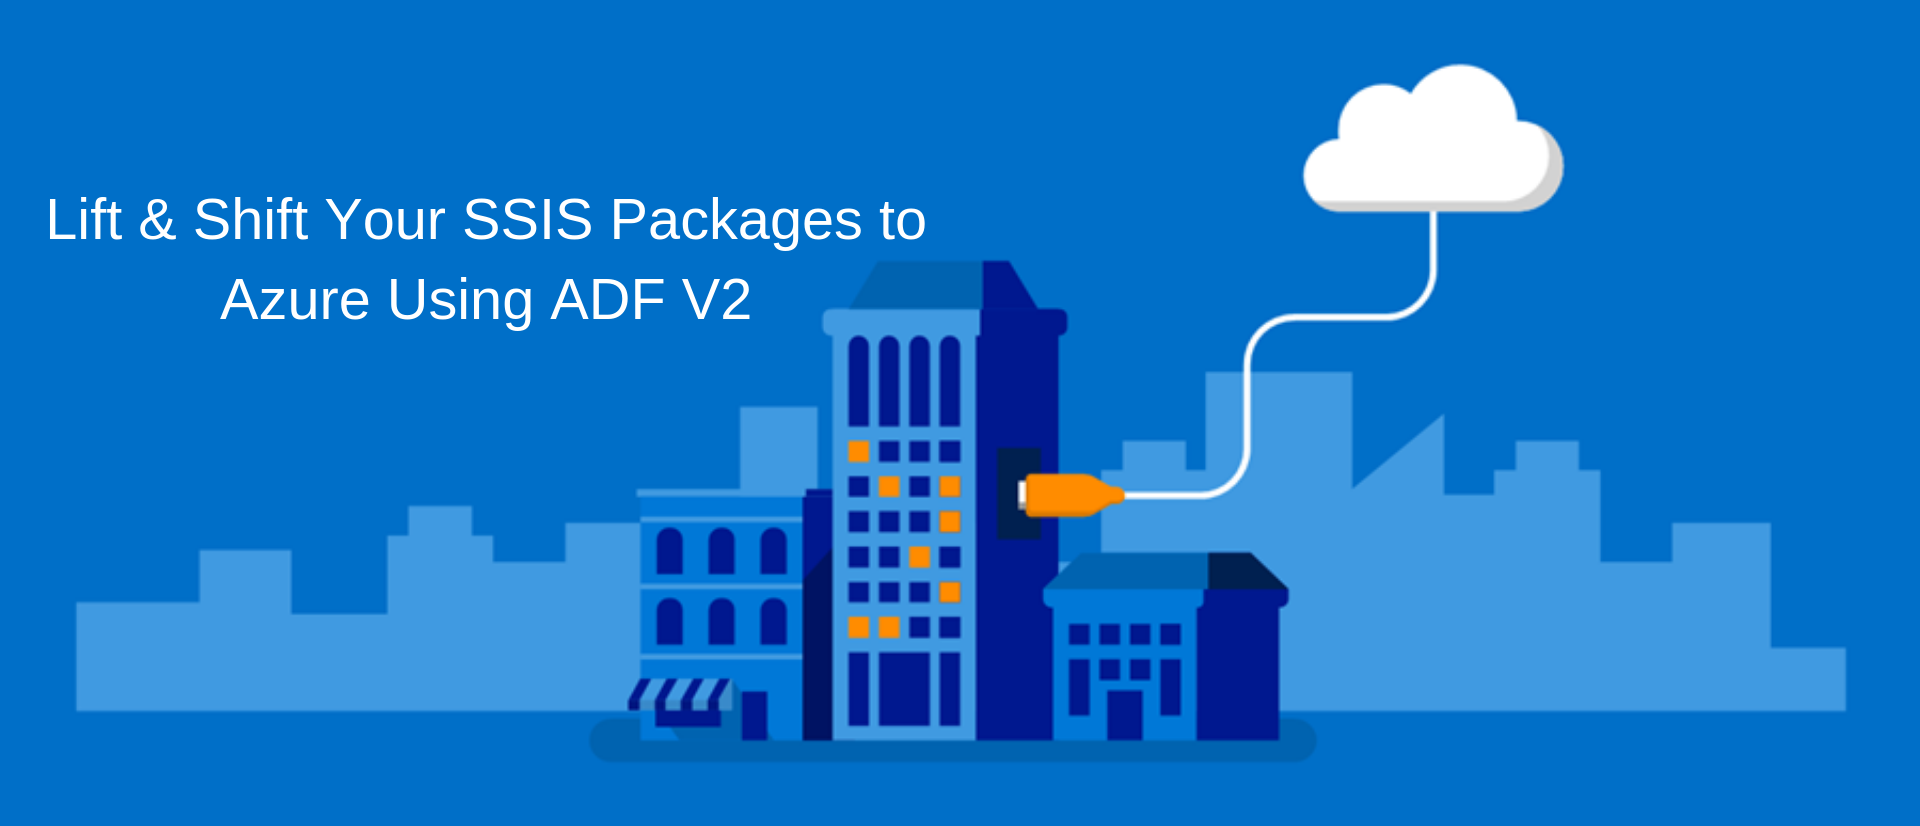
Deploy SQL Server Integration Services(SSIS) packages to Azure using Azure Data Factory(V2)
This tutorial provides all steps required to deploy SSIS packages and concepts :
Azure Data Factory is a data integration service. It enables you to create data-driven workflows in the cloud. A workflow is implemented as one or more pipelines.
The pipelines orchestrate and automate data movement and data transformation.
Pipelines can perform the following sequence with your data:
1. Ingest data from disparate data stores.
2. Transform or process the data
3. Publish output data to data stores
This tutorial provides steps for provisioning an Azure-SSIS integration runtime (IR) in Azure Data Factory. Then, you can use SQL Server Data Tools (SSDT) or SQL Server Management Studio (SSMS) to deploy SQL Server Integration Services (SSIS) packages to this runtime on Azure. In this tutorial, you do the following steps:
- Create a data factory
- Create an Azure-SSIS integration runtime
- Start the Azure-SSIS integration runtime
- Deploy SSIS packages
- Review the complete script
You need to setup your azure powershell to perform this entire activity:
Installation and configuration of Azure PowerShell
Step 1: Install PowerShellGet
Installing items from the PowerShell Gallery requires the PowerShellGet module. Make sure you have the appropriate version of PowerShellGet and other system
requirements. Run the following command to see if you have PowerShellGet installed on your system.
Get-Module PowerShellGet -list | Select-Object Name,Version,Path
You should see something similar to the following output:
 Name Version Path
 ---- ------- ----
 PowerShellGet 1.0.0.1 C:\Program Files\WindowsPowerShell\Modules\PowerShellGet\1.0.0.1\PowerShellGet.psd1
If you do not have PowerShellGet installed, see the How to get PowerShellGet section of this article.
https://docs.microsoft.com/en-us/powershell/azure/install-azurerm-ps?view=azurermps-5.0.0#how-to-get-powershellget
Step 2: Install Azure PowerShell
Installing Azure PowerShell from the PowerShell Gallery requires elevated privileges. Run the following command from an elevated PowerShell session:
Install the Azure Resource Manager modules from the PowerShell Gallery
Install-Module AzureRM -AllowClobber
By default, the PowerShell gallery is not configured as a Trusted repository for PowerShellGet. The first time you use the PSGallery you see the following prompt:
Untrusted repository.
You are installing the modules from an untrusted repository. If you trust this repository, change
 its InstallationPolicy value by running the Set-PSRepository cmdlet.

Are you sure you want to install the modules from 'PSGallery'?
 [Y] Yes [A] Yes to All [N] No [L] No to All [S] Suspend [?] Help (default is "N"): Y

Answer 'Yes' or 'Yes to All' to continue with the installation.
Step 3: Load the AzureRM module
Once the module is installed, you need to load the module into your PowerShell session. You should do this in a normal (non-elevated) PowerShell session.
Modules are loaded using the Import-Module cmdlet, as follows:
Import-Module AzureRM
Launch Windows PowerShell ISE
After installation and configuration of Azure PowerShell, Start Windows PowerShell ISE with administrative privileges and implement the following steps to achieve the goal.
Login To AzureRMAccount
To intetract with azure data factory and other related services, user need to login to AzureRMAccount.
Login-AzureRmAccount
After running the above command one window will popup to put Azure username and password to login as follows:

Once you are logged into azure, you can go ahead and work with all azure services.
1. Create data factory:
Before creating data factory make sure you have created resource group if not execute below powershell script to create resource group under EastUS or EastUS2 location.
New-AzureRmResourceGroup -Location $DataFactoryLocation -Name $ResourceGroupName
- You can create a resource group using Azure Portal under EastUS or EastUS2 location.

- Next, run following Powershell script to create Data factory :
Set-AzureRmDataFactoryV2 -ResourceGroupName $ResourceGroupName `
                        -Location $DataFactoryLocation `
                        -Name $DataFactoryName
- Data factory can be created using Azure portal as follows :

- Next, run the below PowerShell script from PowerShell ISE (X86). Modify the script according to your settings before execution.
$SubscriptionName = "<Azure subscription name>"
$ResourceGroupName = "<Azure resource group name in EastUS>"

# Data factory name. Must be globally unique
$DataFactoryName = "<Data factory name created in the above resource group>"

# In public preview, only EastUS amd EastUS2 are supported.
$DataFactoryLocation = "EastUS"

# Azure-SSIS integration runtime information. This is a Data Factory compute resource for running SSIS packages
$AzureSSISName = "<Specify a name for your Azure-SSIS (IR)>"
$AzureSSISDescription = "<Specify description for your Azure-SSIS IR>"

# In public preview, only EastUS and NorthEurope are supported.
$AzureSSISLocation = "EastUS"

# In public preview, only Standard_A4_v2, Standard_A8_v2, Standard_D1_v2, Standard_D2_v2, Standard_D3_v2, Standard_D4_v2 are supported
$AzureSSISNodeSize = "Standard_A4_v2"

# In public preview, only 1-10 nodes are supported.
$AzureSSISNodeNumber = 2

# In public preview, only 1-8 parallel executions per node are supported.
$AzureSSISMaxParallelExecutionsPerNode = 2

# SSISDB info – The DB server to create a new SSIS Catalogs
$SSISDBServerEndpoint = "<Azure SQL server name>.database.windows.net"
$SSISDBServerAdminUserName = "<Azure SQL server - user name>"
$SSISDBServerAdminPassword = "<Azure SQL server - user password>"

# Remove the SSISDBPricingTier variable if you are using Azure SQL Managed Instance (private preview)
# This parameter applies only to Azure SQL Database. For the basic pricing tier, specify "Basic", not "B".
# For standard tiers, specify "S0", "S1", "S2", 'S3", etc.
$SSISDBPricingTier = "<pricing tier of your Azure SQL server. Examples: Basic, S0, S1, S2, S3, etc.>"
Validate the connection to database
$SSISDBConnectionString = "Data Source=" + $SSISDBServerEndpoint + ";User ID="+ $SSISDBServerAdminUserName +";Password="+ $SSISDBServerAdminPassword
$sqlConnection = New-Object System.Data.SqlClient.SqlConnection $SSISDBConnectionString;

Try
{
    $sqlConnection.Open();
}
Catch [System.Data.SqlClient.SqlException]
{
    Write-Warning "Cannot connect to your Azure SQL DB logical server/Azure SQL MI server, exception: $_"  ;
    Write-Warning "Please make sure the server you specified has already been created. Do you want to proceed? [Y/N]"
    $yn = Read-Host
    if(!($yn -ieq "Y"))
    {
        Return;
    }
}
Log in and select subscription & Data Factory
Add the following code to the script to log in and select your Azure subscription:
Login-AzureRmAccount

Select-AzureRmSubscription -SubscriptionName $SubscriptionName
Set-AzureRmDataFactoryV2 -ResourceGroupName $ResourceGroupName `
                        -Location $DataFactoryLocation `
                        -Name $DataFactoryName
Create an integration runtime
Run the following command to create an Azure-SSIS integration runtime that runs SSIS packages in Azure:
$secpasswd = ConvertTo-SecureString $SSISDBServerAdminPassword -AsPlainText -Force
$serverCreds = New-Object System.Management.Automation.PSCredential($SSISDBServerAdminUserName, $secpasswd)
Set-AzureRmDataFactoryV2IntegrationRuntime  -ResourceGroupName $ResourceGroupName `
                                            -DataFactoryName $DataFactoryName `
                                            -Name $AzureSSISName `
                                            -Type Managed `
                                            -CatalogServerEndpoint $SSISDBServerEndpoint `
                                            -CatalogAdminCredential $serverCreds `
                                            -CatalogPricingTier $SSISDBPricingTier `
                                            -Description $AzureSSISDescription `
                                            -Location $AzureSSISLocation `
                                            -NodeSize $AzureSSISNodeSize `
                                            -NodeCount $AzureSSISNodeNumber `
                                            -MaxParallelExecutionsPerNode $AzureSSISMaxParallelExecutionsPerNode
Start integration runtime
Run the following command to start the Azure-SSIS integration runtime:
Start-AzureRmDataFactoryV2IntegrationRuntime -ResourceGroupName $ResourceGroupName `
                                             -DataFactoryName $DataFactoryName `
                                             -Name $AzureSSISName `
                                             -Force
# Starting your Azure-SSIS integration runtime.
#This command takes 20 to 30 minutes to complete.
Deploy SSIS packages
- In the Connect to the server dialog box in SSMS, enter the server name and credentials where SSIS Catalogs are created. Select Options and enter SSISDB in the Connect to database field in the expanded option dialog box to view the SSIS Catalogs.
- Create an SSIS project using SSDT, develop an SSIS package with a data flow task or SQL execute task. Build the project without errors. Please make sure an isac package is created in the build folders.
From the deployment wizard in the above step, locate isac file as the project file.
Next, select Integration Services Catalog, and enter deployment server details in the destination page. You must enter the fully qualified name of the DB server. Browse the folder you created in the SSIS catalogs and deploy the SSIS packages. Once you have successfully deployed, you will see a similar interface as below. You can right click on the SSIS packages to execute.

Once package is deployed on Integration Service Catalogs, it can be schedule to run from Azure data factory SQL server stored procedure activity.
Now we deployed packages using Project Deployment Model because Package Deployment Model is not supported as of now.